How does raising dampness occur?
The cause of rising dampness is groundwater. Usually, it occurs when moisture seeps through the ground and then travels through the walls using ‘capillary action.’ In most cases. The water mainly has salts which travel with the water through the wall.
Capillarity action causes water from the ground to be absorbed upwards through the pores, or capillaries, within the walls and rising damp will eventually evaporate unless there are other factors that might inhibit evaporation.
Rising water transports moisture-attracting (hygroscopic) salts that are left behind within the wall when the water evaporates. Even if the water source of a rising damp problem is resolved, an internal damp problem may still occur. This is due to the hygroscopic salts attracting moisture from the air inside the building.
Why should you be careful of rising dampness?
Rising dampness can cause a number of aesthetic, structural, and even health-related problems.
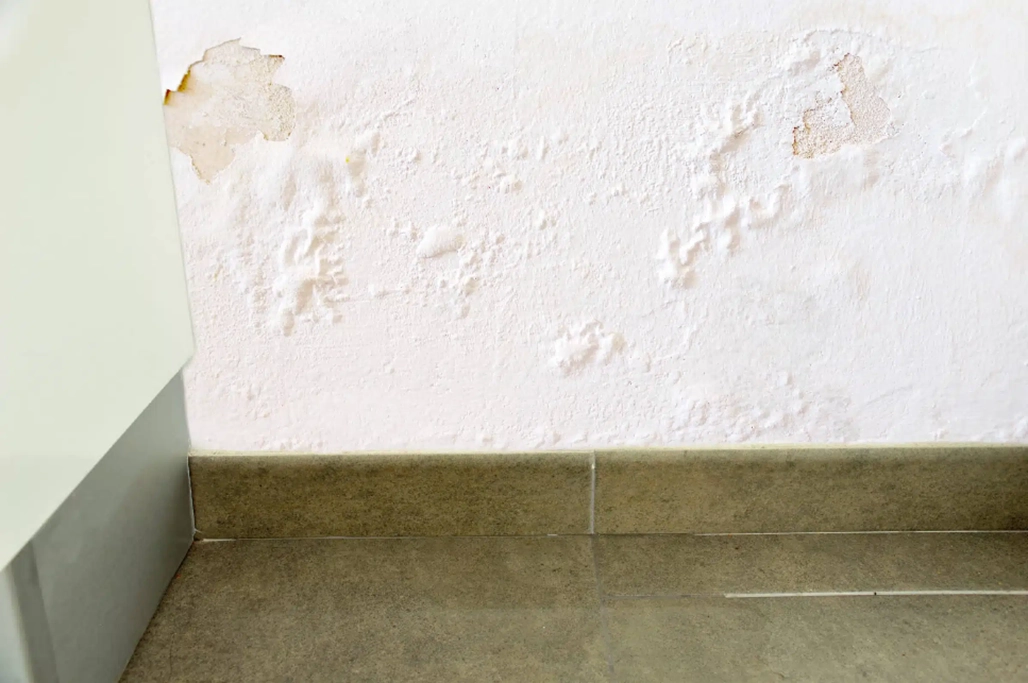
Rising dampness can cause paint and plaster work to peel, crack, and bubble, as well as water-tide marks showing where the water has risen along walls and efflorescence (a white salt deposit that looks unpleasant on walls, floors, or ceilings).
Dampness may penetrate structures, limiting building lifespan. Furthermore, when the water rises, salt deposits in building structures promote corrosion and integrity deterioration through a salt attack.
Damp conditions can promote the growth of mould, which can be dangerous to one's health.
Rising dampness can significantly affect the integrity and value of a property and superficial treatments such as repainting, coating, or cleaning the surface won't make it go away.
How can you identify rising dampness existence?
Rising dampness is initially determined by checking out the damage usually starting by inspecting the internal walls of a structure. The first and most common sign is the peeling of paint and plaster. If you have wallpaper, it will begin to peel as well. After a period, a noticeable stain on the wall that seems to be a tide mark will form, and this is usually how far the groundwater has reached. It should be your goal to prevent increasing dampness from spreading further.
you might also see the salts blooming, which too is associated with rising dampness and leads to the debonding of paints and even plaster. If the problem is not addressed, the mortar will crumble and be replaced by white salt stains on the wall over the years.

How Do You Stop Rising Damp?
When a problem arises in a completed construction, negative waterproofing tends to be the most cost-effective and time-efficient solution because it takes place from the inside, avoiding the destruction of of exterior arrangements and works that are more complex or impractical to carry out from the outside.
Negative waterproofing means that the waterproofing layer is applied on the side of the building element that is opposite to the side with direct contact with water. Where the walls must be completely stripped to expose the base substrate (brick or concrete).
Step-by-Step solution
Uniguard solution
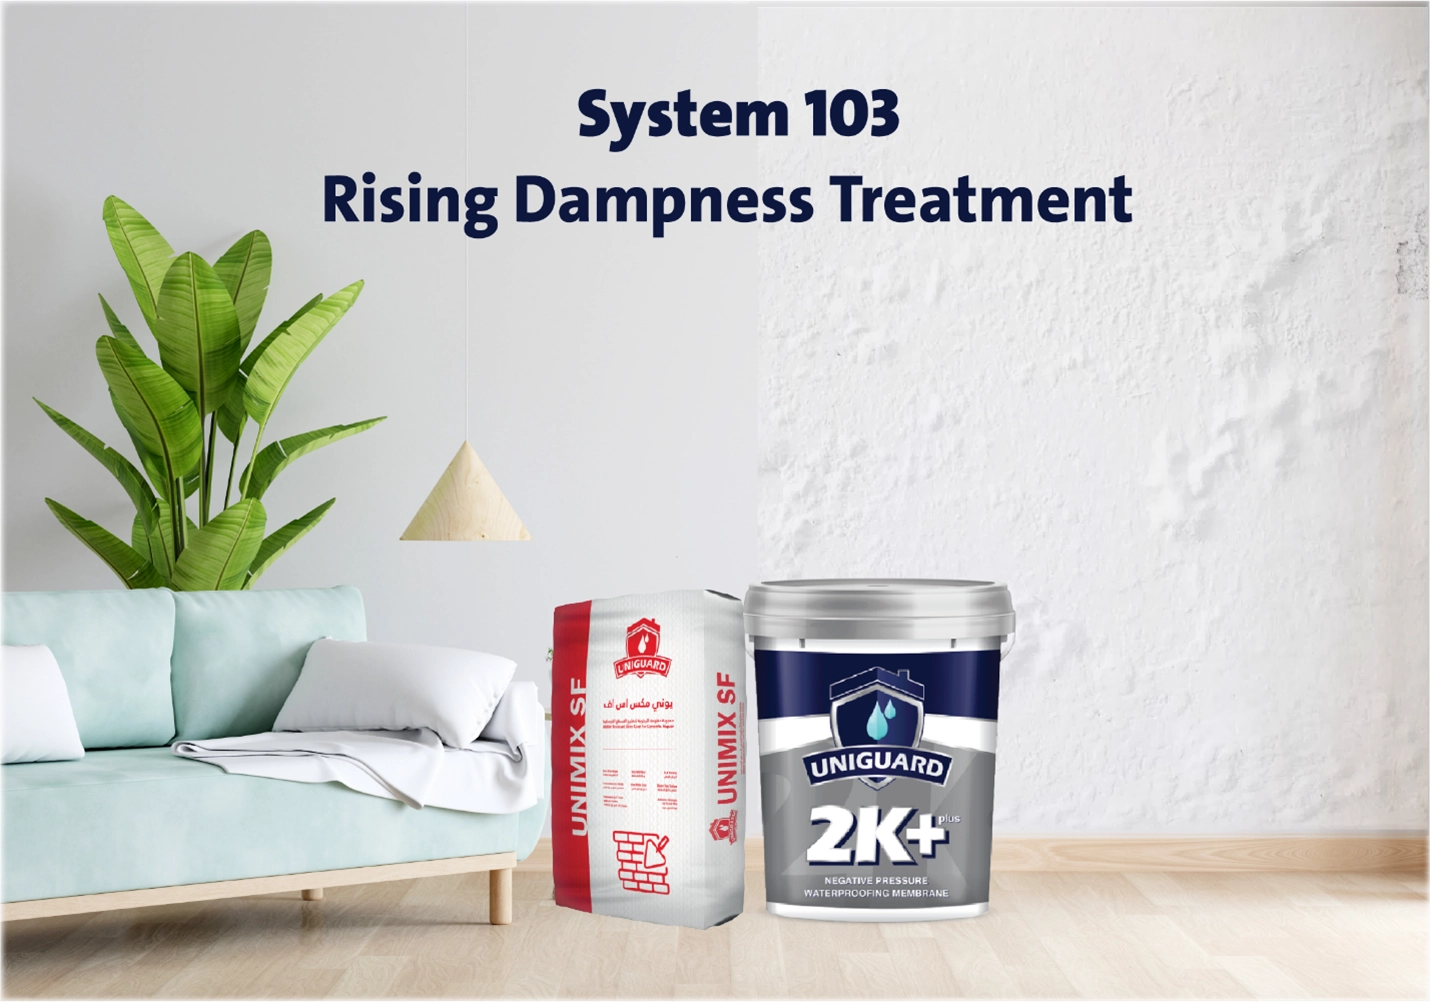
With years of expertise in tackling dampness issues and developing waterproofing solutions, we've developed a solution that is second to none. Say goodbye to unsightly stains, peeling paint, and the worry of structural damage from rising dampness with System 103 from uniguard.
1 Substrate preparation:
• Remove damaged paint using a scraper, and dampen the paint using water to facilitate the removal process.
• Remove all layers until you reach the substrate using a grinder, and remove the paint and putty up to half a meter around the damp area.
• The substrate should be free from oil and grease, dust, or any other loose particles, and can be damp or slightly wet, but ponding water must be avoided.
2 Apply Negative cementitious Waterproofing.
Apply 2K plus which is flexible & crack-bridging two-component cementitious waterproofing that withstands high negative water pressure reaching up to 5 bar and positive water pressure up to 7 bar by roller in 3 layers, to a total thickness of at least 3 mm. Wait until the first layer is dry before applying subsequent layers perpendicular to each other within half an hour of mixing.
3 Smooth the surface using Water-resistant Wall Putty.
Smooth the surface using the cementitious Unimix SF wall putty which is a Versatile water-resistant & flexible fine cementitious putty in 1-2 coats using a spatula. Allow for the first coat to dry before applying the subsequent coat. Smooth while wet to achieve the desired look. and easily sanded after full drying to achieve an ultra-smooth surface.